
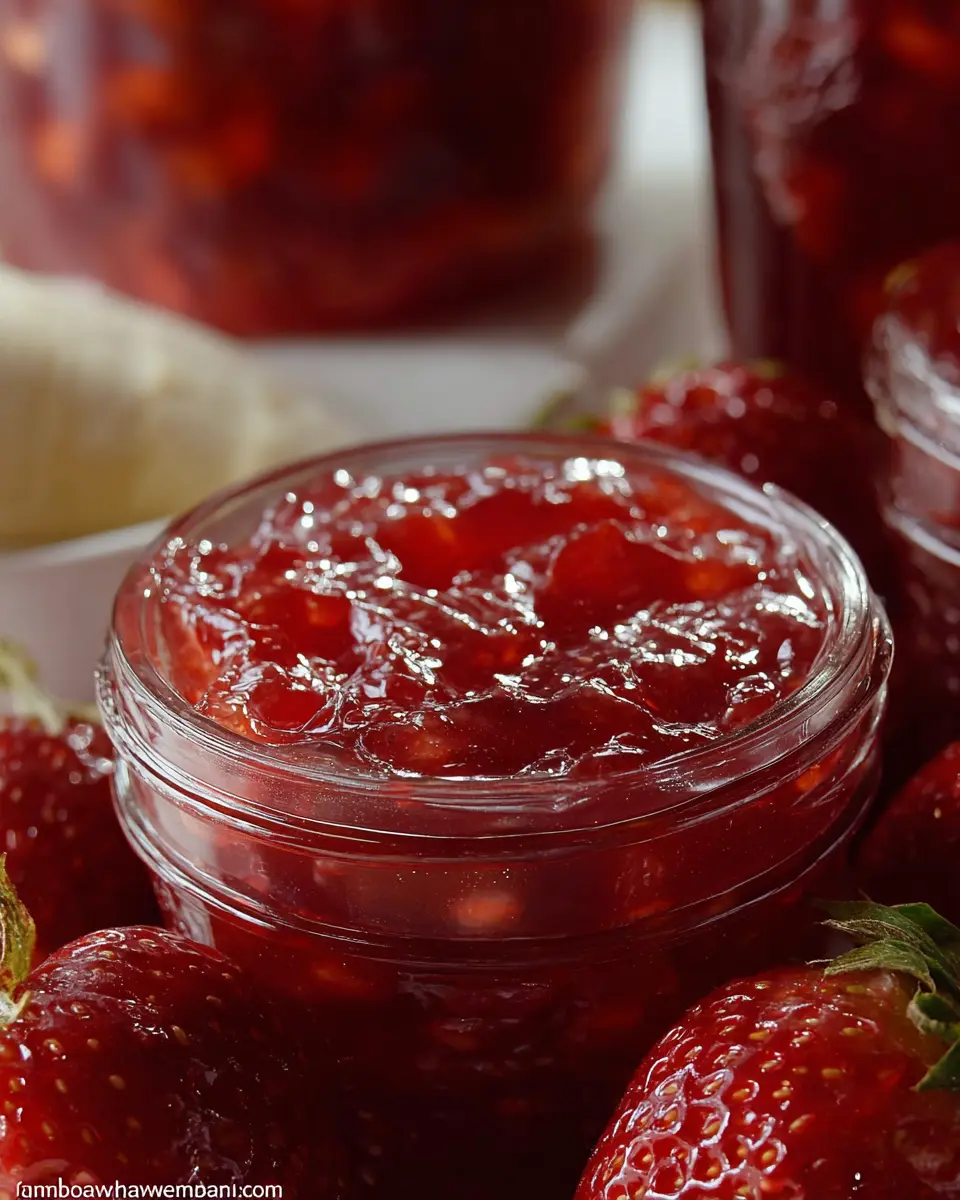
Introduction to Strawberry Banana Jam
Have you ever wondered why you should make your own jam? The answer is simple: homemade jam is not only delicious but also allows you to control the ingredients. By making your own strawberry banana jam, you can reduce the sugar without sacrificing flavor, using ripe bananas and fresh strawberries to create a lush, fruity spread. Plus, it’s an excellent way to make use of those overripe bananas sitting on your counter.
Crafting your own jam is a rewarding experience that brings a delightful homemade touch to breakfast or snacks. Did you know that fruit spreads can be packed with added preservatives and sugars? By using Pomona’s Universal Pectin, you can create a low-sugar option that perfectly preserves the vibrant taste of the fruit. Homemade jams can also be a thoughtful gift, showcasing your culinary skills and creativity. Imagine your friends’ faces when they receive a jar of your delicious strawberry banana jam—it's a personal touch that store-bought options simply can't compete with!
If you’re looking for a fun weekend project, making jam can be surprisingly simple. It’s a beautiful way to savor the essence of summer fruits all year round. So, are you ready to dive into this easy recipe? Let’s get started!
Ingredients for Strawberry Banana Jam
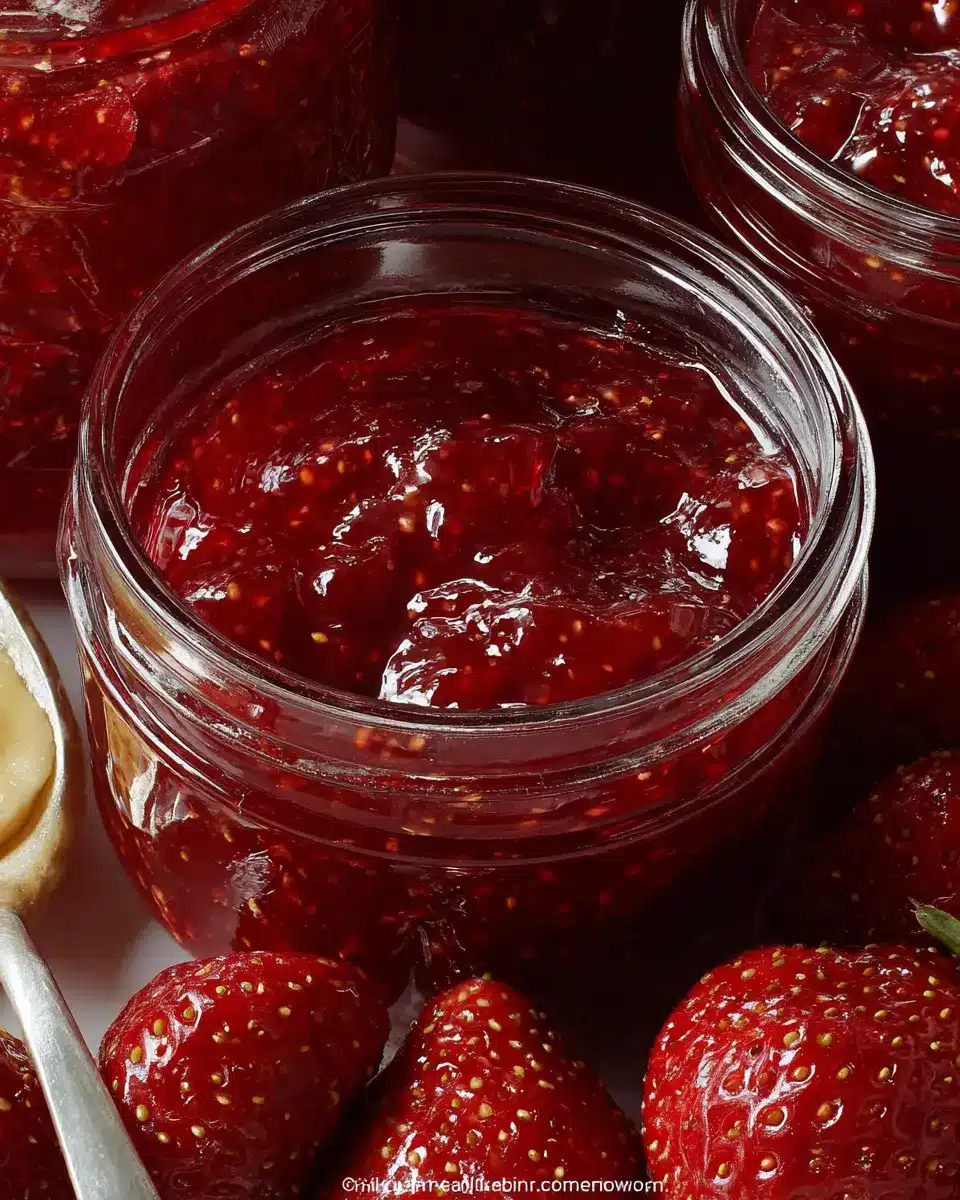
Making strawberry banana jam is not only easy but also a delightful way to capture the flavors of summer in a jar. Let’s dive into what you’ll need to create this sweet spread.
- Strawberries: You’ll need 3 cups of either mashed or finely chopped strawberries. Look for ripe fruits for the best flavor, ideally those that are still firm but fragrant.
- Bananas: One cup of mashed bananas will add natural sweetness and a creamy texture, making this jam not just tasty but also unique.
- Calcium Water: This is a crucial addition (2 teaspoons), especially if you're using Pomona’s Pectin. It helps maintain the jam's structure without excessive sugar.
- Lemon Juice: Two tablespoons will brighten up the flavors and enhance the overall taste.
- Sugar: Though this recipe uses less sugar, you still need 2 cups to help the jam set properly.
- Pectin: Finally, 2 teaspoons of Pomona’s Universal Pectin is your secret weapon; it’s what allows us to use less sugar while achieving that jammy consistency.
For more tips, check out Pomona’s Pectin resources on low-sugar preserving!
Step-by-Step Preparation of Strawberry Banana Jam
Making strawberry banana jam at home is not just rewarding; it’s also a delightful way to transform overripe bananas and fresh strawberries into a delicious treat. Follow these simple steps to create a fruity masterpiece that will elevate your breakfasts and snacks.
Prepare the strawberries and bananas
Start by washing and stemming your strawberries to get rid of any dirt or debris. Once they’re clean, crush or finely chop them to release their juices. You’ll need about 3 cups, so make sure to measure them out into a 6- or 8-quart saucepot. Next, turn your attention to the bananas. Mash up 1 cup of ripe bananas, which adds that creamy sweetness to your jam. Combine the crushed strawberries and mashed bananas, and don’t forget to add in 2 teaspoons of calcium water and 2 tablespoons of lemon juice. This combination is not just delicious; it aids in preserving the bright color of your jam. If you're curious about the benefits of lemon juice in jams, check out this University of California guide on fruit preservation.
Get your canning supplies ready
Preparation is key when making your strawberry banana jam. Start by assembling all your canning supplies. You’ll need clean mason jars, jar lids, and a canner. It’s advisable to keep your lids warm until you’re ready to seal your jars; you can do this by placing them in hot water. Having everything in place not only makes the process smoother but also minimizes the chances of messy accidents.
Combine fruit with calcium water and lemon juice
With your fruit ready and canning supplies on standby, it’s time to get cooking. Pour your strawberry and banana mixture into the saucepot and stir in the calcium water and lemon juice. This step is essential because it creates the perfect environment for the sugar and pectin to work their magic later on.
Mix in sugar and pectin
In a separate bowl, measure out 2 cups of sugar and stir in the 2 teaspoons of Pomona's Universal Pectin. Mixing them ensures that the pectin dissolves evenly when introduced to the fruit mixture. Once your fruit is boiling vigorously on the stove, toss this sugar-pectin combination into the pot. Stir continuously to prevent any sticking and ensure a smooth consistency.
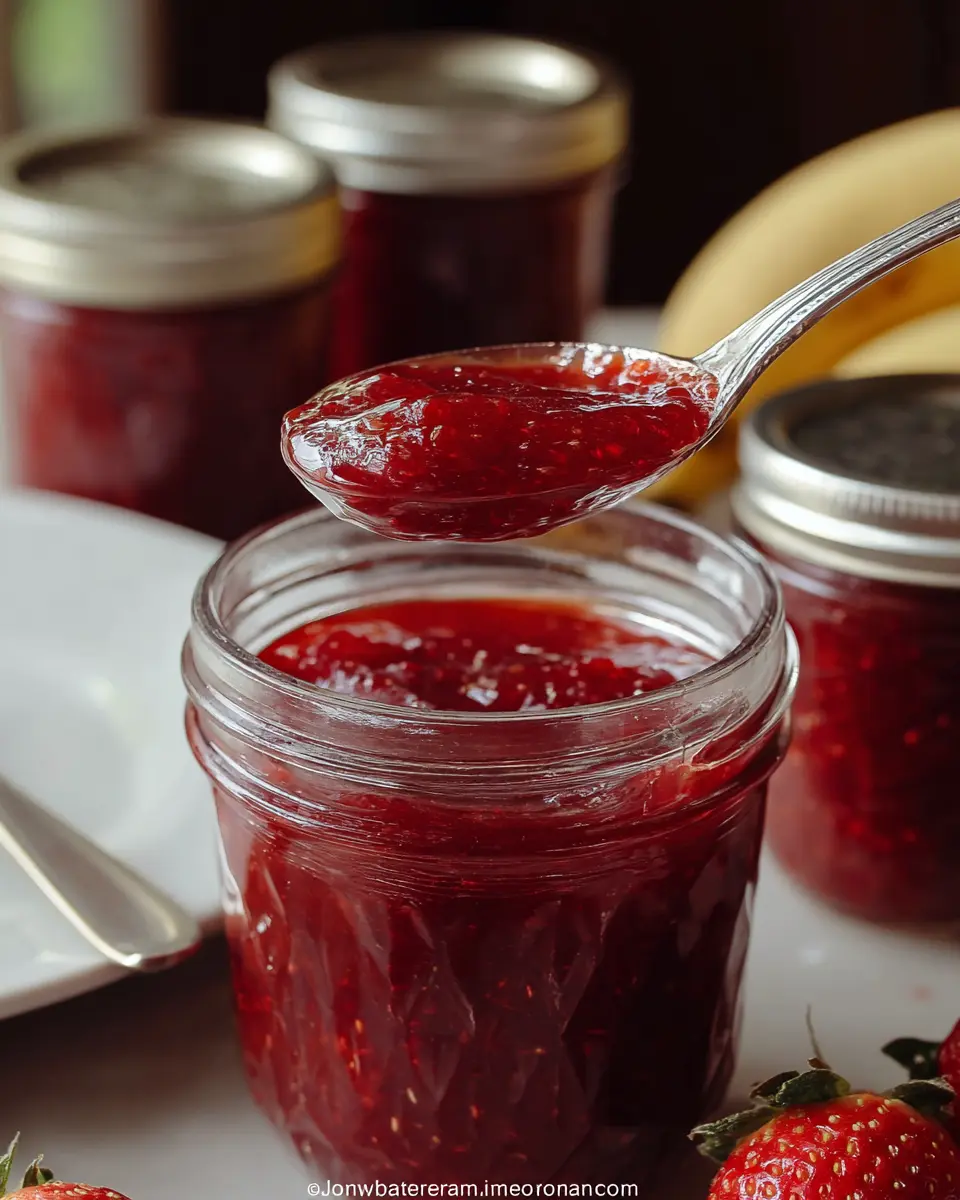
Cook and jar the jam
Bring your fruit mixture back to a rolling boil and let it cook for exactly one minute while stirring constantly. This is when the magic happens! Once done, it’s time to ladle the hot jam into your prepared jars, leaving a little space at the top. Wipe the rims of the jars to ensure a good seal, then cover them with lids and tighten the bands. Process the jars in a water bath canner for 10 minutes, and you’re set! Allow your jars to cool before checking the seals.
And there you have it — a sweet, spreadable creation that brightens up your mornings. Enjoy your homemade strawberry banana jam on toast, pancakes, or as a delightful filling for pastries!
Variations on Strawberry Banana Jam
Strawberry Banana Blueberry Jam
If you love strawberries and bananas, why not add some blueberries into the mix? This Strawberry Banana Blueberry Jam is a delightful twist that offers a burst of flavor and gorgeous color. Simply replace one cup of strawberries with one cup of fresh or frozen blueberries in your original recipe. This jam is perfect on pancakes or toast, and its antioxidants can give you that extra health boost. Curious about the benefits? Check out this Healthline article on blueberries.
Tropical Strawberry Banana Jam with Pineapple
Take your taste buds on a tropical vacation with this Tropical Strawberry Banana Jam. To create this exotic version, add one cup of crushed pineapple to your strawberry and banana mixture. The pineapple adds a sweet tang that complements the other flavors beautifully. Spread it on your morning toast or use it as a filling for desserts. You might even find inspiration on how to use it from this Food Network guide on tropical fruits.
Cooking Tips and Notes for Strawberry Banana Jam
Creating your own strawberry banana jam can be a delightful experience! Here are some tips to ensure your jam turns out perfectly each time:
-
Choose the Right Fruit: Ensure your strawberries and bananas are ripe for the best flavor. Overripe bananas add a natural sweetness, making your jam even tastier.
-
Experiment with Flavors: Feel free to add spices like cinnamon or vanilla extract for a unique taste. You can also mix in other fruits like blueberries for a fun twist.
-
Monitor the Consistency: If you prefer a thicker jam, cook it a little longer after adding the sugar mixture until it reaches your desired thickness.
-
Storage Tips: Always store any unsealed jars in the refrigerator and consume them within two weeks for freshness. For long-term storage, keep your sealed jars in a cool pantry.
For more canning tips, check out resources from National Center for Home Food Preservation or Ball Canning. Happy jamming!
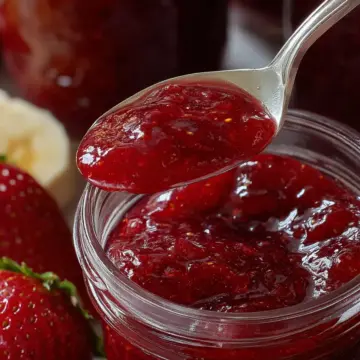
Serving Suggestions for Strawberry Banana Jam
If you're wondering how to enjoy your delicious strawberry banana jam, you're in for a treat! This jam is incredibly versatile and pairs wonderfully with various meals and snacks. Here are some ideas to get you started:
- Spread on Toast: Slather it on warm, toasted bread topped with cream cheese for a delightful breakfast or snack.
- PB&J Upgrade: Use it to elevate traditional peanut butter and jelly sandwiches, or try a peanut butter and banana version for a fun twist.
- Pancake Topping: Drizzle over pancakes or waffles as a fruity syrup alternative; it adds a refreshing flavor.
- Flavor Enhancer: Stir into yogurt or oatmeal for a sweet surprise or layer it into smoothies for extra texture.
With these suggestions, your strawberry banana jam will shine in every meal! For more inspiration, check out this guide on jam pairings and elevate your culinary experience.
Time Breakdown for Strawberry Banana Jam
Preparation Time
Get the ball rolling in just 10 minutes! You’ll be stemming and mashing strawberries and bananas, so keep your measuring cups and tools handy.
Canning Time
Once you’ve cooked your strawberry banana jam, it’s time for the canning process, which takes around 10 minutes. This is the moment that ensures your jam is perfectly preserved.
Total Time
In just 30 minutes, you’ll transform fresh fruits into a delightful homemade jam that’s perfect for spreading on toast or topping off your favorite dishes. Easy, right?
For more tips on canning and preserving, check out Canning and Preserving Tips from the USDA. Enjoy your fresh, low-sugar treat!
Nutritional Information for Strawberry Banana Jam
Understanding the nutritional profile of your homemade strawberry banana jam can help you enjoy it guilt-free. Here's a quick overview:
Calories
Each tablespoon of this delightful jam contains approximately 30 calories, making it a sweet addition to any spread without overloading your calorie count.
Sugar Content
This jam features a reduced sugar content, with about 6 grams of sugar per tablespoon. It’s a great way to indulge your sweet tooth while still keeping things balanced.
Vitamin C
With fresh strawberries at its base, this jam packs a punch of vitamin C — approximately 10% of your daily needs in just one tablespoon. This essential nutrient helps boost your immune system and promotes healthy skin.
For further insights on the health benefits of strawberries, check out Harvard's article on fruit's nutritional value. How does that sound? Enjoy your strawberry banana jam and feel good about what you're putting on your toast or sandwiches!
FAQs about Strawberry Banana Jam
How can I store homemade jam?
Storing your strawberry banana jam is simple! Once your jars are sealed, keep them in a cool, dark place such as a pantry. For any unsealed jars, place them in the fridge and enjoy within two weeks. Make sure to label your jars with the date to keep track of freshness — it's a small detail that helps a lot!
What’s the best way to ensure my jam sets properly?
To achieve the perfect set, ensure that your fruit is ripe and well-measured. Use the calcium water as directed with Pomona’s Pectin, and don't skip the boiling step: a full rolling boil is essential! Stir constantly as you mix in the sugar and pectin, and consider checking out this guide for more tips on jam consistency here.
Can I reduce the sugar in this recipe?
Absolutely! One of the standout features of this recipe is its lower sugar content, but you can reduce it even further without compromising flavor. Keep in mind that less sugar may affect the set, so feel free to experiment with the amount, but ensure you're using Pomona's Pectin, which allows for flexibility in sugar levels.
Conclusion on Strawberry Banana Jam
This strawberry banana jam is a delightful way to capture the essence of summer in a jar, perfect for enhancing your favorite breakfasts and snacks. With just a few ingredients and less sugar, it's a healthier alternative that doesn't compromise on taste. Enjoy this sweet treat on toast or as an ingredient in smoothies!
For more canning ideas and recipes, check out resources like FreshPreserving.com and Ball® Canning.
Strawberry Banana Jam – Easy Recipe with Less Sugar
Equipment
- 6- or 8-quart sauce pot
- Canner
- Jars
Ingredients
Fruits
- 3 cups strawberries mashed or finely chopped
- 1 cup bananas mashed
Other
- 2 teaspoons calcium water included with Pomona's Pectin
- 2 tablespoons lemon juice
- 2 cups sugar
- 2 teaspoons Pomona's Universal Pectin
Instructions
Preparation
- Stem and crush or chop strawberries. Measure 2 cups into a 6- or 8-quart sauce pot. Mash bananas and add one cup into the sauce pot with the berries. Add calcium water and lemon juice to fruit mix.
- Prepare jars and canner. Keep lids warm until ready to fill jars.
- Measure 2 cups sugar into a separate bowl. Stir pectin powder into sugar.
Cooking
- Bring fruit mixture to full rolling boil on high heat, stirring constantly. Quickly stir in sugar/pectin mixture. Return to full rolling boil and boil exactly one minute, stirring constantly. Remove from heat; skim off any foam with a metal spoon, if desired.
- Ladle into prepared jars, filling to within ¼ inch of top. Wipe jar rims and threads. Cover with lids and screw bands. Tighten rings until snug.
- Process for 10 minutes in a water bath canner. Turn off heat, let sit five minutes (optional). Remove from canner and place on kitchen towel on counter top. After jars are cool, check seals. Remove rings, date and label. Best quality if used within 18 months.
Leave a Reply