
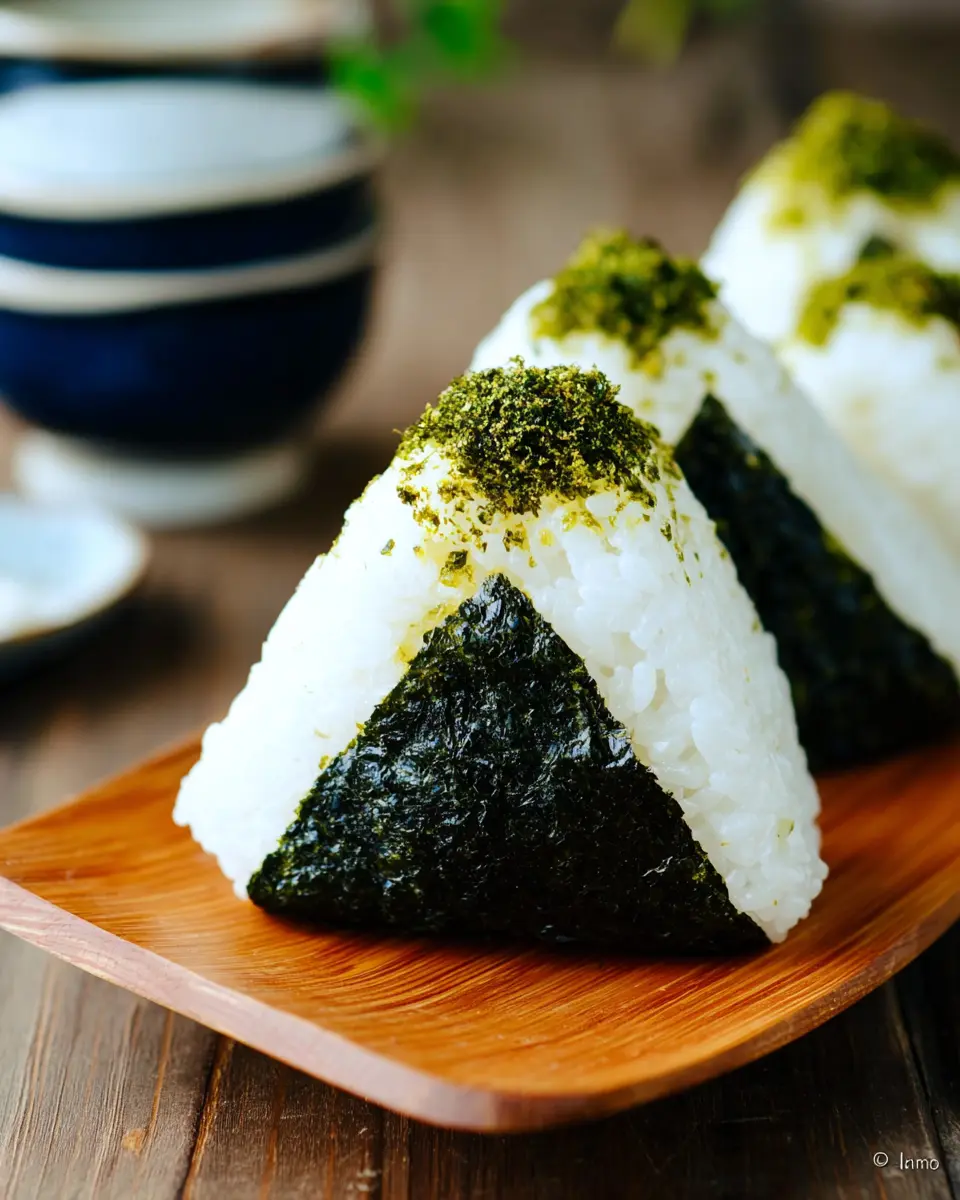
Introduction to Onigiri
Onigiri, or Japanese rice balls, are widely celebrated for their delicious fillings and versatile nature, making them a fantastic alternative to typical fast food options. Unlike greasy burgers or fried snacks, onigiri is made using nourishing ingredients like short-grain rice and fresh fillings that can include anything from salmon to pickled plums. They are lightweight, portable, and easy to customize, which is ideal for busy professionals looking for a healthy and satisfying meal on the go.
Why are Onigiri a great alternative to fast food?
- Healthier Ingredients: Onigiri allows you to control your ingredients, offering a nutritious option packed with essential vitamins and minerals learn more here.
- Quick Preparation: The onigiri recipe can be whipped up in under an hour, making it easy to prepare ahead of time for lunch or snacks. With just a little planning, you can enjoy a wholesome meal that keeps you energized throughout the day.
- Endless Variations: From classic fillings like salted salmon to more adventurous options like spicy cod roe, the combinations are truly endless. This means you can regularly switch things up to keep your taste buds excited check out these filling ideas.
With onigiri, not only do you enjoy a delicious meal, but you also make a healthier choice that aligns with your busy lifestyle. Ready to dive into making your own delicious onigiri? Let’s get started!
Ingredients for Onigiri
Essential Components for the Rice
The star of any onigiri recipe is undoubtedly the rice. You’ll need 2¼ cups of uncooked Japanese short-grain white rice, which gives onigiri its delightful sticky texture. Pair it with 2½ cups of water for perfect steaming. Don't skip the rinsing step—this removes excess starch for a fluffier finish!
Fillings Options: Traditional and Creative
When it comes to fillings, the sky’s the limit! Here are some delicious traditional options:
- Japanese Salted Salmon: A classic choice, simply broil or bake salmon with a sprinkle of kosher salt.
- Okaka: Combine dried bonito flakes with soy sauce for a savory punch.
- Tuna Mayo: Mix albacore tuna with Kewpie mayo for a creamy blend.
Feeling adventurous? Try out these creative fillings:
- Umeboshi: The tang of pickled plum adds a unique twist.
- Spicy Cod Roe: For those who enjoy a kick.
- Shio Kombu: A savory seaweed mixture that’s a chef's secret.
Equipment You’ll Need
To make your onigiri a success, gather:
- A rice cooker or pot for cooking
- A bowl for mixing
- An onigiri mold (optional but helpful)
- Parchment paper or a baking sheet for shaping
These simple tools make the process smoother and more enjoyable. Happy cooking!
Preparing Onigiri
Making onigiri is a delightful way to enjoy a quick snack or meal, and with a little guidance, you'll be creating these delicious Japanese rice balls like a pro. Let’s break down the process step by step!
Cook the Rice for Optimal Texture
The cornerstone of a great onigiri recipe is the rice. Japanese short-grain white rice is your best friend here due to its sticky texture, which helps hold the onigiri together. Rinse the rice thoroughly until the water runs clear to remove excess starch. Then, soak it for 20-30 minutes before cooking. If you're using a rice cooker, a good water-to-rice ratio is about 1 to 1.2. Once cooked, let it rest for a few minutes. This allows the rice to become fluffy, ensuring your onigiri won’t fall apart.
Prepare the Various Fillings
While the rice cooks, it's time to think about fillings! The beauty of onigiri lies in its versatility. Here are some popular options:
- Japanese Salted Salmon: Broil fillets with a sprinkle of salt until flaky.
- Okaka Filling: Combine dried bonito flakes with soy sauce for umami goodness.
- Tuna Mayo: Mix canned tuna with Kewpie mayonnaise and soy sauce for a creamy contrast.
- Umeboshi: These pickled plums add a sharp tang.
- Karashi Mentaiko: Spicy roe gives a kick to your rice balls.
Feel free to mix and match or even create your unique fillings!
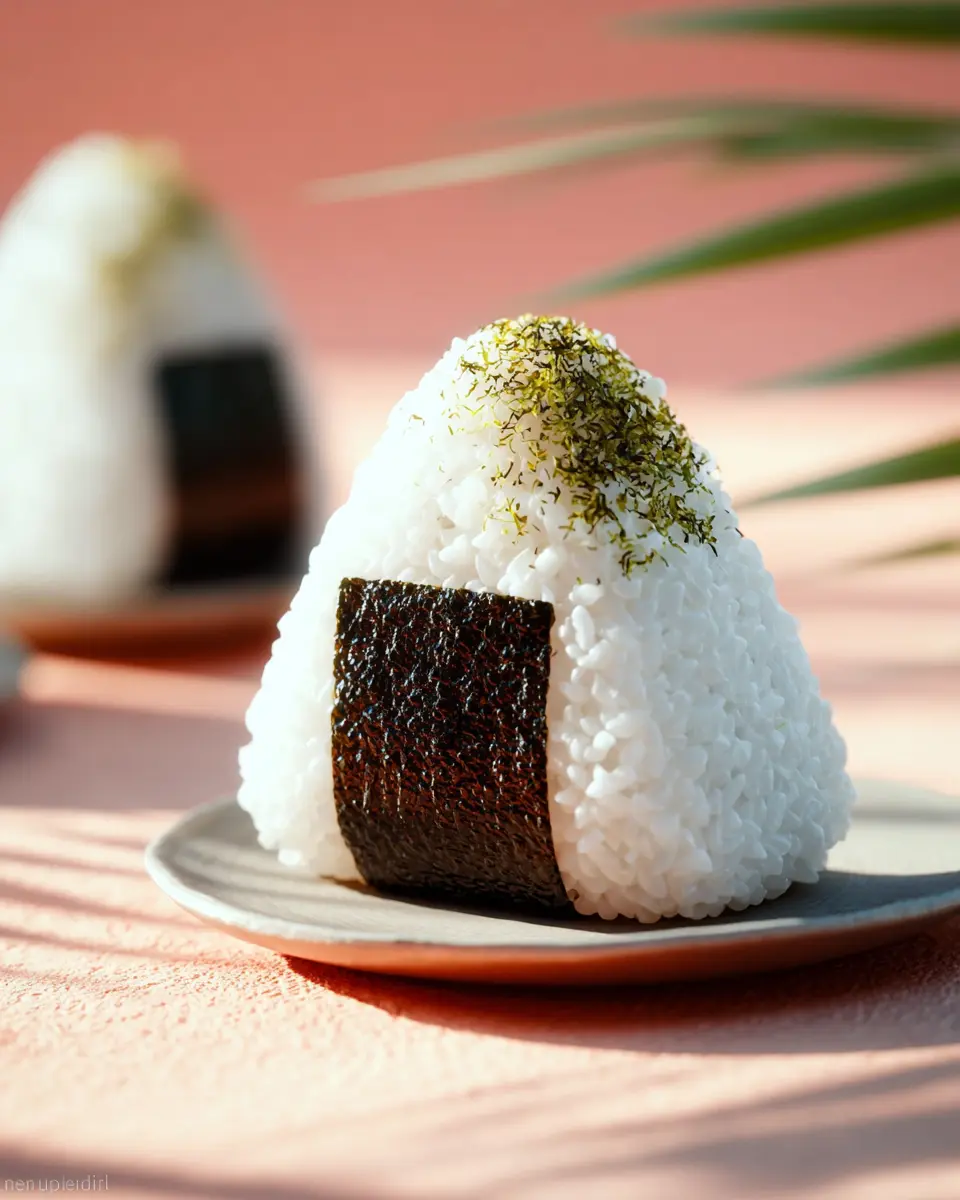
Shaping Onigiri: Hand Method vs. Mold
Now, onto the fun part—shaping your onigiri! You can use hands or an onigiri mold:
-
With Hands: Wet your palms to prevent sticking and sprinkle a bit of salt. Take a handful of warm rice, create a well in the center for your filling, scoop more rice on top, and then mold it into a triangle.
-
With a Mold: Soak the mold in water to prevent sticking, salt it lightly, fill it halfway with rice, add your filling, top with more rice, and press down firmly before releasing.
Which method do you prefer? The hand method adds a personal touch, while using a mold guarantees uniformity.
Adding Flavor with Furikake and Nori
Furikake, a Japanese rice seasoning, is a fantastic way to add an extra layer of flavor. Gently coat your onigiri with furikake before wrapping them with nori (dried seaweed). For the ultimate crunch, wrap the nori right before enjoying your onigiri—this keeps it fresh and crispy.
Storing and Packing Onigiri for the Week
If you want to make a batch ahead of time, store your onigiri in the refrigerator for up to three days, but keep in mind they can dry out. To combat this, wrap them in thick kitchen towels before placing them in an airtight container. When you’re ready to eat, you can even reheat them in a pan for a crispy exterior.
By following these steps, you'll soon have a delicious array of onigiri ready for snacking or a satisfying lunch. Enjoy experimenting with different fillings and flavors!
Variations on Onigiri
Vegetarian Onigiri Variants
If you’re looking to keep things plant-based, you can easily whip up delicious vegetarian onigiri. Consider using fillings like:
- Avocado and Furikake: Creamy avocado pairs beautifully with savory furikake, making every bite a flavor delight.
- Pickled Vegetables: Traditional tsukemono (Japanese pickles) lightens up the rice balls while adding a crunch.
- Sesame Tofu: Crumbled tofu drizzled with soy sauce and sesame oil provides a protein-packed option.
These veggie-packed delights not only taste great but are also visually appealing, adding vibrant colors to your lunch!
Fusion Flavors: Western-Inspired Onigiri
Why not get creative and try a fusion twist? Western-inspired onigiri can be a hit at any gathering:
- Turkey Bacon and Cream Cheese: A delicious blend of smoky turkey bacon wrapped in creamy cheese offers a savory surprise.
- Chicken Ham and Spinach: Pairing chicken ham with fresh spinach and a touch of mustard creates a satisfying combo.
- BBQ Pulled Beef: Think of a rice ball stuffed with tender, tangy BBQ beef for a hearty treat.
These innovative fillings not only add flair to your onigiri recipe but also appeal to those craving comfort food with a twist. For more inspiration, check out Just One Cookbook for a variety of Japanese recipes!
Cooking Notes for Onigiri
Best Practices for Rice Cooking
When preparing your onigiri recipe, the right rice is key. Use Japanese short-grain rice, which offers the perfect sticky texture. Remember to rinse the rice thoroughly until the water runs clear, discarding excess starch to ensure fluffiness. Soaking the rice for 20-30 minutes before cooking enhances its ability to absorb water, resulting in a tender finish. If you prefer additional guidance, you can explore this comprehensive guide on cooking rice.
Tips for Enhancing Flavor and Texture
To elevate your onigiri's taste, don’t hesitate to season the rice with a touch of salt. Experiment with various fillings—think spicy mentaiko or classic umeboshi—to keep each bite exciting. For added texture, consider toasting your nori just before serving, ensuring a delightful crisp with each mouthful. Also, try incorporating furikake for a burst of flavor and crunch. These elements will make your onigiri not only delicious but also exciting to enjoy!
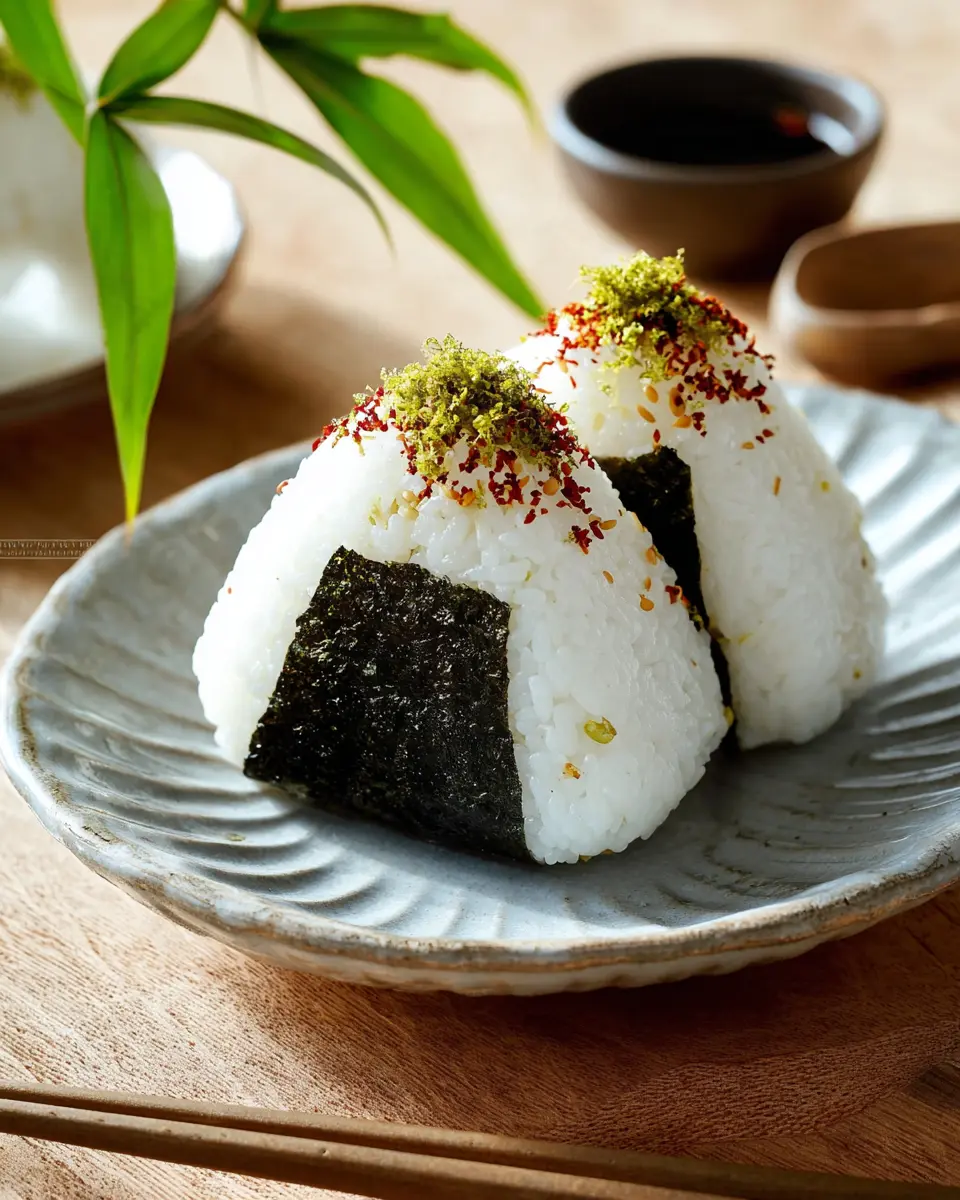
Serving Suggestions for Onigiri
Presentation Tips for Picnics or Lunch
When preparing your onigiri recipe for a picnic or lunch, presentation is key. Use a bento box or a simple tray to elevate the visual appeal. Consider garnishing your onigiri with colorful sesame seeds or a sprinkle of furikake. Adding fresh herbs like shiso can enhance the look and flavor. For a personal touch, wrap each onigiri with a strip of nori or a leaf of lettuce to keep it fresh. You can even place cute food picks to make them more inviting especially when sharing with friends.
Pairing Ideas: Sides and Beverages
To complement your delicious onigiri, consider pairing them with light salads or pickled vegetables, like tsukemono, for a refreshing bite. Miso soup is a classic that rounds out the meal beautifully. For beverages, a chilled green tea or a refreshing iced matcha can enhance the umami flavors of your meal. If you’re feeling adventurous, try some sparkling water infused with citrus for a zesty touch.
Consider checking out Japan Centre for more authentic sides and beverages to pair with your onigiri!
Time Breakdown for Onigiri
Preparation Time
The prep work for this onigiri recipe takes around 30 minutes. This includes measuring and rinsing the rice, as well as preparing any fillings you choose.
Cooking Time
Next, the rice cooking process will require about 30 minutes, depending on your chosen method—be it a rice cooker, stovetop, or Instant Pot.
Total Time
Overall, you can expect to spend about 1 hour from start to finish. This means in just an hour, you can enjoy delicious homemade onigiri, perfect for any meal or snack time!
Nutritional Facts for Onigiri
Calories per Serving
A single serving of onigiri contains approximately 174 calories. This makes it a delightful snack or lunch option without breaking the calorie bank.
Protein Content
When you bite into these tasty rice balls, you’ll also get about 7 grams of protein, thanks to ingredients like tuna or salmon fillings. This makes them a satisfying choice to keep you energized throughout the day.
Sodium Levels
Be mindful of the sodium content, which is roughly 341 mg per serving. While onigiri can be flavorful, if you're watching your sodium intake, consider adjusting the amount of soy sauce or salt you use.
For more detailed nutritional information, check out sources from health-focused websites like NutritionData or the USDA's FoodData Central.
FAQs about Onigiri
How can I make onigiri taste better?
To elevate the flavors in your onigiri, try seasoning your rice with a bit of salt or adding a splash of rice vinegar for a hint of tanginess. Experimenting with fillings can also enhance the taste; consider using spicy karashi mentaiko or flavorful furikake (rice seasoning). You can also toast your nori before wrapping it around the rice balls for a delightful crunch and depth of flavor.
Can onigiri be frozen for later?
Absolutely! Onigiri can be frozen for future meals. Just wrap each rice ball individually in plastic wrap and then place them in a freezer bag. When you're ready to enjoy, allow them to thaw in the fridge overnight, or microwave them for a quick snack. Just keep in mind that the texture may change slightly upon reheating.
What are the best fillings for beginners?
If you're new to making onigiri, start with simple fillings. Tuna mayo, a classic combination of albacore tuna and Kewpie mayonnaise, is always a crowd-pleaser. Other beginner-friendly fillings include seasoned salmon, pickled plums (umeboshi), or just a sprinkle of furikake. These choices are easy to prepare and pack a lot of flavors! Want to dive deeper into this? Check out this delightful onigiri recipe for more filling ideas and tips.
Conclusion on Onigiri
Making onigiri is both rewarding and delicious. They provide a personalized approach to snacking or lunching, allowing you to experiment with different fillings tailored to your tastes. Plus, with this onigiri recipe, you can impress friends and family with your culinary skills—enjoy every bite!
Onigiri
Equipment
- rice cooker
- baking sheet
- mixing bowl
- onigiri mold
- Toaster Oven
Ingredients
For the Steamed Rice
- 2.25 cups uncooked Japanese short-grain white rice (3 rice cooker cups; 540 ml)
- 2.5 cups water (600 ml)
For the Onigiri
- Diamond Crystal kosher salt
- 3 sheets nori (dried laver seaweed)
For the Japanese Salted Salmon Filling (quick version)
- 1-2 fillet salmon
- Diamond Crystal kosher salt
For the Okaka Filling
- 1 packet katsuobushi (dried bonito flakes) (one packet is typically 3 g or 5 g)
- 1 tablespoon soy sauce
For the Tuna Mayo Filling
- 1 can albacore tuna (preferably packed in olive oil) (5-ounce)
- 2 tablespoon Japanese Kewpie mayonnaise
- 0.5 tablespoon soy sauce
For the Other Fillings
- 2 umeboshi (Japanese pickled plum)
- 2 sacs spicy salted pollock roe or cod roe (karashi mentaiko)
- shio kombu (prepared)
- furikake (rice seasoning)
Instructions
To Prepare the Steamed Rice
- Measure 2¼ cups uncooked Japanese short-grain white rice, rinse, and wash the rice. Cook with a rice cooker or other methods, adding 2½ cups water.
- Let the rice soak for 20–30 minutes before cooking, following the appropriate water-to-rice ratio for the type of rice you're using.
To Prepare the Onigiri Fillings
- Prepare the Japanese Salted Salmon Filling by seasoning salmon with Diamond Crystal kosher salt and broil or bake at 425ºF for 10-20 minutes.
- Make the Okaka Filling by combining katsuobushi with soy sauce in a bowl.
- For the Tuna Mayo Filling, mix drained tuna with Japanese Kewpie mayonnaise and soy sauce.
- Deseed the umeboshi and set the flesh aside.
- Prepare mentaiko by cutting sacs and squeezing out the roe.
- Put prepared shio kombu in a bowl for easy access.
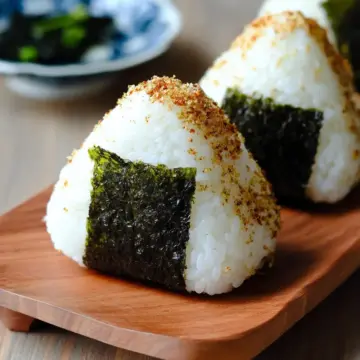
To Shape the Onigiri
- Gather all ingredients and let cooked rice cool slightly. Shape onigiri using mold, hands, or plastic wrap, sprinkling salt for seasoning.
- Coat onigiri with furikake on three sides and wrap with nori if desired.
To Serve
- Enjoy the onigiri warm or at room temperature, storing properly if needed.


Leave a Reply