
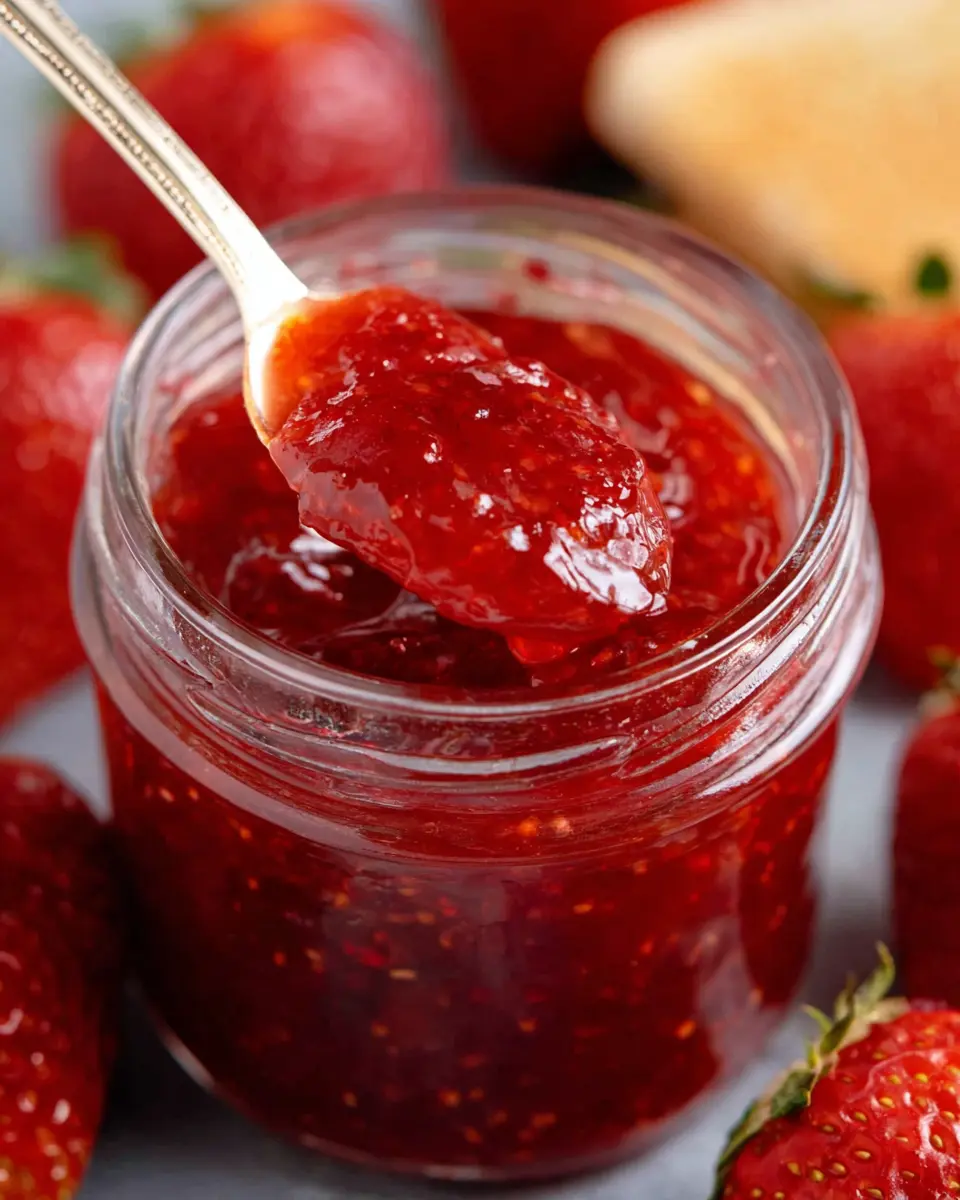
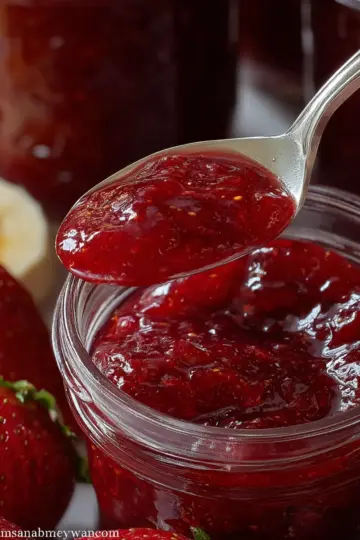
Introduction to Small Batch Strawberry Jam
When you think of comfort food, what comes to mind? For many, it’s the sweet allure of homemade jam spreading joy and flavor over morning toast. As a young professional, you might often find yourself juggling a busy schedule, making it easy to overlook the little pleasures in life. This is where small batch strawberry jam steps in, ready to make your mornings a whole lot sweeter!
Why Homemade Jam is the Best Choice for Young Professionals
Making your own jam can be incredibly rewarding. Not only do you control the ingredients, ensuring no preservatives or unnecessary additives go into your food, but you also create a masterpiece that fits perfectly into your lifestyle. Imagine whipping up a small batch of this delightful jam in just 12 minutes, freeing you to focus on work, hobbies, or catching up with friends.
Plus, the fresh taste of ripe strawberries blended with just enough sugar and a zing of lemon can elevate your breakfast routine. It’s a simple yet therapeutic activity—perfect for unwinding after a long day, all while filling your pantry with deliciousness. You’ll find that sharing this jam with friends and family becomes a delightful conversation starter too!
So, why settle for store-bought when you can embrace the joy and satisfaction of creating your own small batch strawberry jam? Let’s get started!
Ingredients for Small Batch Strawberry Jam
Key components for peanut-free strawberry jam
When crafting your small batch strawberry jam, it’s crucial to focus on a few key ingredients. Thankfully, this recipe is naturally peanut-free! The main players are fresh strawberries, sugar, and a hint of lemon juice. These not only balance the sweetness but also help in the preservation process. You won’t need any pectin here, making it simple yet delicious!
Importance of fresh strawberries and quality sugar
Now, let’s talk strawberries. Opt for vine-ripened, bright red strawberries, as they pack the most flavor. Freshness is everything—get them from your local farmer’s market if possible! Pair these luscious berries with high-quality granulated sugar to let the natural sweetness shine. Trust me, splurging on quality sugar can elevate your jam to gourmet status.
Together, these ingredients create a delightful spread that’s perfect for toast, desserts, or even as a topping for yogurt! For more tips on ingredients, check out this resource on strawberries’ health benefits.
Step-by-step Preparation of Small Batch Strawberry Jam
Making your own small batch strawberry jam at home is surprisingly simple and delightful. Follow these easy steps to turn fresh strawberries into a sweet treat you can enjoy on toast, pancakes, or even straight from the jar!
Selecting and washing fresh strawberries
Start with some vibrant, ripe strawberries! When you’re at the store or farm, look for berries that are deep red and firm. Gently press each one; if it feels too mushy, it’s best to pass. Once you’ve collected about 1 pound, give them a good rinse under cold water to remove any dirt or residues. Make sure to hulled the strawberries—this means removing the green tops and leaves. A great tool to speed up this process is a hulling knife or just a good paring knife.
The importance of measuring ingredients accurately
Accurate measurements can make or break your jam! For this recipe, you need 1 ½ cups of sugar and 2 tablespoons of lemon juice. Sugar is key to balancing the strawberry flavor and providing that perfect jam-like consistency. Using a wet measuring cup for liquids and a dry measuring cup for sugar ensures precision. Balance is everything, especially in a small batch recipe like this!
Cooking the mixture over medium heat
Once your strawberries are prepped, combine them in a saucepan with the measured sugar. Place the saucepan over medium heat, and start stirring gently. You’ll notice that the sugar gradually dissolves and releases the juices from the strawberries. As it heats up, keep an eye on it—this is where the magic happens! Bring the mixture to a boil while stirring frequently to prevent sticking.
Adding lemon juice and zest for flavor
After your fruit and sugar mixture reaches a bubbling boil, it’s time to spark up the flavor. Add 2 tablespoons of lemon juice and, if you’re feeling adventurous, toss in ½ teaspoon of lemon zest. Lemon not only enhances the flavor but also helps with preservation due to its acidity. The zest adds a lovely aromatic touch. Stir everything together, and let it continue to boil for about 15 minutes.
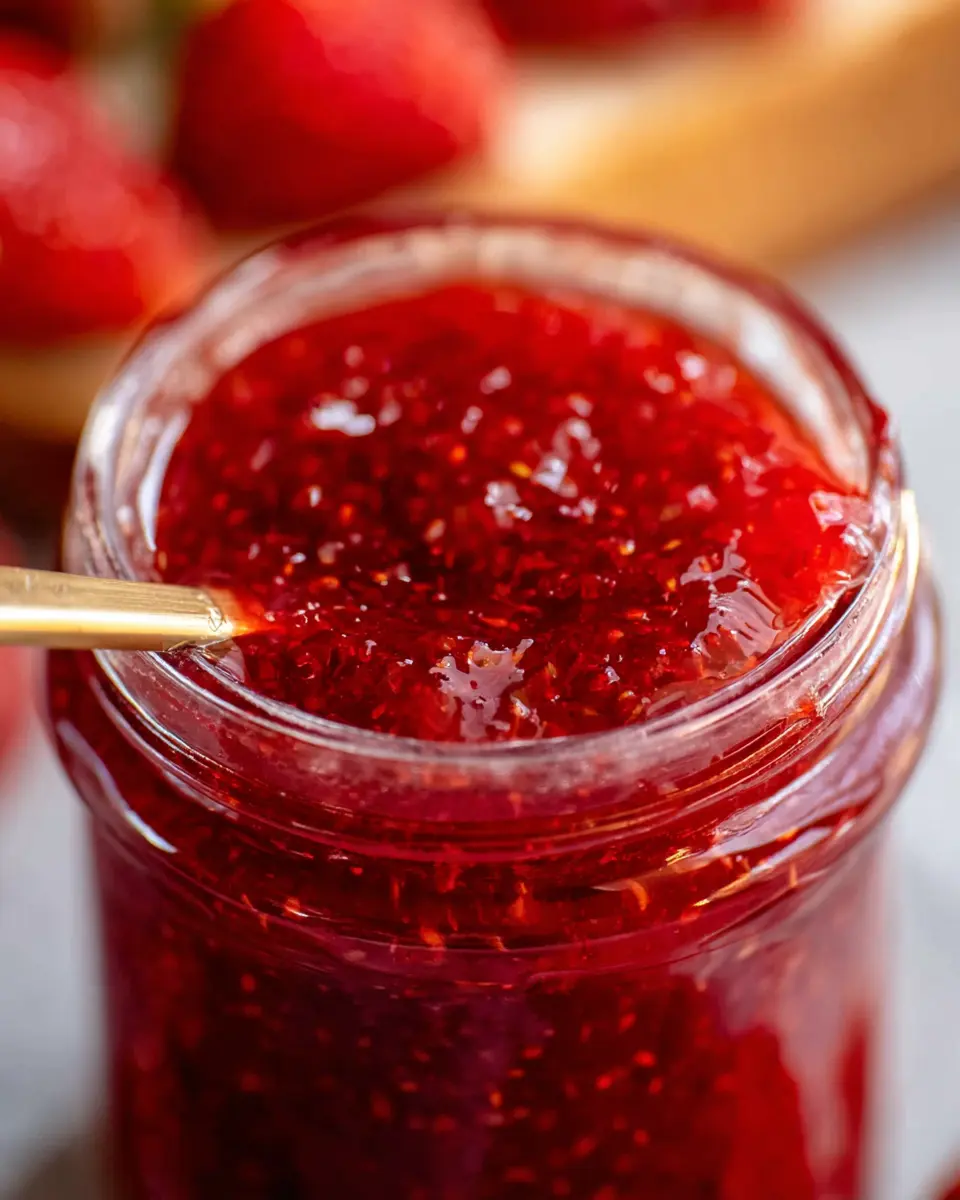
Testing for the right consistency
How do you know when your small batch strawberry jam is ready? It’s all about the consistency. One delicious trick is the “plate test.” Take a spoonful of the mixture and place it on a cold plate. Let it sit for a few seconds, then run your finger through it—if it holds its shape, you’re good to go! If it looks too runny, keep boiling for a few more minutes.
Jarring and storing your homemade jam
Once your jam has reached the desired thickness, it's ready to be jarred. Carefully ladle the jam into clean, sterilized jars, filling them to about ¼ inch from the top. Seal tightly with clean lids and let them cool at room temperature. Store your homemade jam in the refrigerator, where it will keep for about two weeks—though it probably won’t last that long because it’s so good!
In no time, you’ll have a delightful jar of small batch strawberry jam to enjoy or to gift to someone special. Happy jamming!
Variations on Small Batch Strawberry Jam
Strawberry Basil Jam for a Unique Twist
Elevate your small batch strawberry jam with the addition of fresh basil! Simply chop a handful of basil leaves and add them to the strawberries during the cooking process. This herbaceous touch beautifully complements the sweetness of the strawberries, providing a delightful and unexpected flavor. Perfect for spreading on toast or pairing with cheese, it's sure to impress your guests. If you're feeling adventurous, check out this detailed guide on herb-infused jams.
Spicy Strawberry Jam with Jalapeños
For those who enjoy a little kick, try infusing your jam with jalapeños! Start with one finely chopped jalapeño (removing the seeds for less heat), adding it to the strawberries as they cook. The combination of sweet and spicy creates a vibrantly unique jam that’s perfect for savory dishes or as a topping for grilled meats. Explore more about blending heat with sweetness in your cooking through this article on spicy preserves. Embrace these variations, and you’ll have exciting new flavors to share!
Cooking Tips and Notes for Small Batch Strawberry Jam
Importance of stirring consistently to prevent burning
When making small batch strawberry jam, consistent stirring is crucial. As the strawberries break down and the sugar dissolves over heat, the mixture can easily stick to the bottom of the pan, leading to a burnt flavor that no one wants. Aim to stir gently but continuously, allowing for even heat distribution and preventing any mishaps.
How to know when your jam is ready
How can you tell the right moment to stop cooking? A quick temperature check is the best approach! Your jam should reach a rolling boil and hit about 220°F. If you don’t have a thermometer, you can also do the "plate test." Just drop a spoonful of jam on a cold plate, let it sit for a minute, then run your finger through it—if it holds its shape, you're good to go! Happy jamming!
Serving Suggestions for Small Batch Strawberry Jam
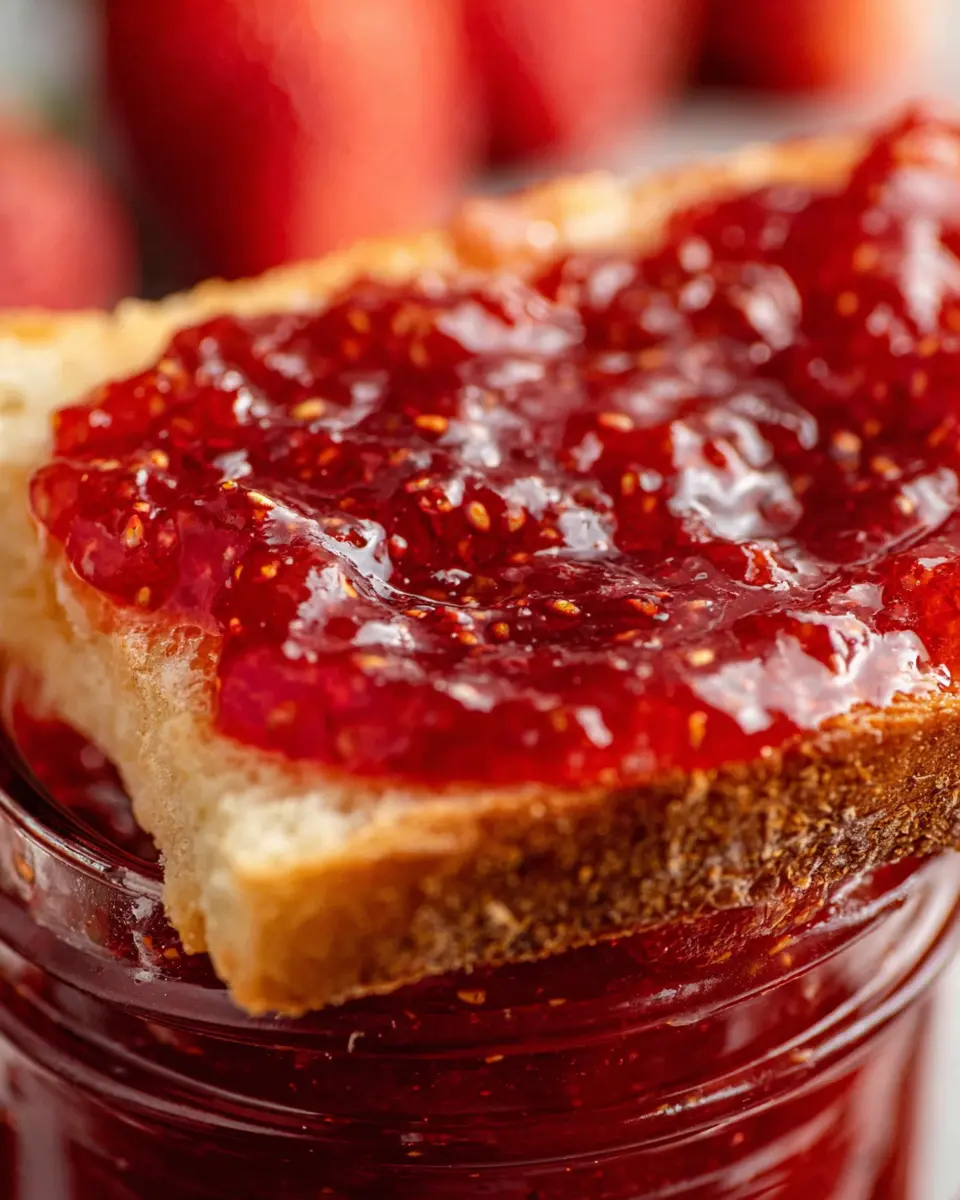
Perfect pairings for breakfast and snacks
Consider spreading your small batch strawberry jam on warm, toasted whole grain bread for a delightful breakfast treat. It pairs perfectly with creamy Greek yogurt as a mid-morning snack, creating a balanced mix of flavors. For something hearty, add turkey bacon or chicken ham to a breakfast sandwich topped with your homemade jam for an unexpected twist!
Creative ways to use jam in desserts
Don’t limit this delicious jam to just breakfast. Use it as a filling in thumbprint cookies or swirl it into cheesecake batter for added flavor. It also makes a fantastic topping for vanilla ice cream or pancakes, adding a burst of fruity sweetness. Experimenting with your jam not only enhances desserts but also sparks creativity in your kitchen!
For inspiration on unique dessert recipes, check out Epicurious or Bon Appétit.
Time Breakdown for Small Batch Strawberry Jam
Preparation Time
Getting started on your small batch strawberry jam is quick! You’ll need approximately 2 minutes to wash and slice those fresh strawberries. It's a simple task that gives you a moment to appreciate the vibrant hues of summer fruit.
Cooking Time
Once your strawberries are ready, the magic happens! The cooking process takes about 10 minutes. During this time, you'll be stirring and watching your kitchen transform as the strawberries bubble and sweeten into a delightful jam.
Total Time
In just 12 minutes, you can create your very own small batch strawberry jam. This quick and easy treat is perfect for spreading on toast or adding a sweet touch to your favorite desserts. Why not whip up a batch this weekend?
If you're looking for more jam-making tips or ways to enjoy your homemade creation, check out Food52's guide on fruit preservation. Happy jamming!
Nutritional Facts for Small Batch Strawberry Jam
Calories per serving
Each serving of this delightful small batch strawberry jam packs about 55 calories. This makes it a sweet addition to your breakfast or snack without going overboard on your daily calorie intake.
Sugar content
With 1 ½ cups of sugar for a pound of strawberries, each serving contains roughly 12 grams of sugar. While this seems high, remember that this jam is meant to be enjoyed in moderation. You can also explore natural sweetener alternatives if you're looking to cut down!
Benefits of homemade jam
Opting for homemade jam like this small batch strawberry jam allows you to control ingredients and flavors. Unlike many store-bought options, which often contain preservatives and artificial flavors, this jam is pure, delicious, and bursting with fresh strawberry goodness! Plus, making jam at home can be a rewarding activity—there's something special about crafting your own treats. For more insights on the benefits of homemade products, check out this article from Healthline.
FAQs about Small Batch Strawberry Jam
How long does homemade jam last?
Homemade small batch strawberry jam can be stored in the refrigerator for about two weeks if sealed properly. To ensure freshness, always use a clean spoon each time you scoop out jam. If you're a jam lover like me, it might not even last that long!
Can I freeze my small batch strawberry jam?
Absolutely! Freezing is a great option if you want to keep your jam for longer. Just pour the cooled jam into freezer-safe containers, leaving some space at the top for expansion. It will maintain its quality for up to a year in the freezer. When you're ready to enjoy it, simply thaw it in the refrigerator overnight.
What if my jam doesn’t set properly?
Don’t worry! If your jam ends up too runny, you can still salvage it. Consider reheating it, adding a bit more lemon juice, and boiling it for a bit longer until it reaches the desired thickness. Alternatively, check out this article for more tips on fixing runny jam. Remember, practice makes perfect!
Conclusion on Small Batch Strawberry Jam
In just 12 minutes, you can create your own delightful small batch strawberry jam that brightens up your breakfast toast or enhances dessert. With minimal ingredients and no need for pectin, this easy recipe is perfect for those who crave homemade goodness. Enjoy up to two weeks of fruity flavor!
Small Batch Strawberry Jam (no pectin required)
Equipment
- saucepan
Ingredients
Fruit
- 1 pound fresh strawberries
Sweeteners
- 1.5 cup white sugar for sweetness
Acids
- 2 tablespoons lemon juice
- 0.5 teaspoon lemon zest optional
Instructions
Preparation Steps
- Wash and slice 1 pound fresh strawberries, removing the hulls and green tops.
- Add them to a saucepan, and mix 1 ½ cup white sugar in well.
- Stir continually over medium heat, and bring the strawberries to boil.
- Once boiling, add 2 tablespoons lemon juice and ½ teaspoons lemon zest (if using).
- Boil for about 15 minutes, or until the jam reaches 220°F.
- Stir often, to make sure the jam doesn’t burn.
- Pour into a jar and allow to cool.
- Cover and refrigerate.
- Use within about 2 weeks (if it lasts that long).

Leave a Reply