
Introduction to No-Bake Mini Cheesecakes
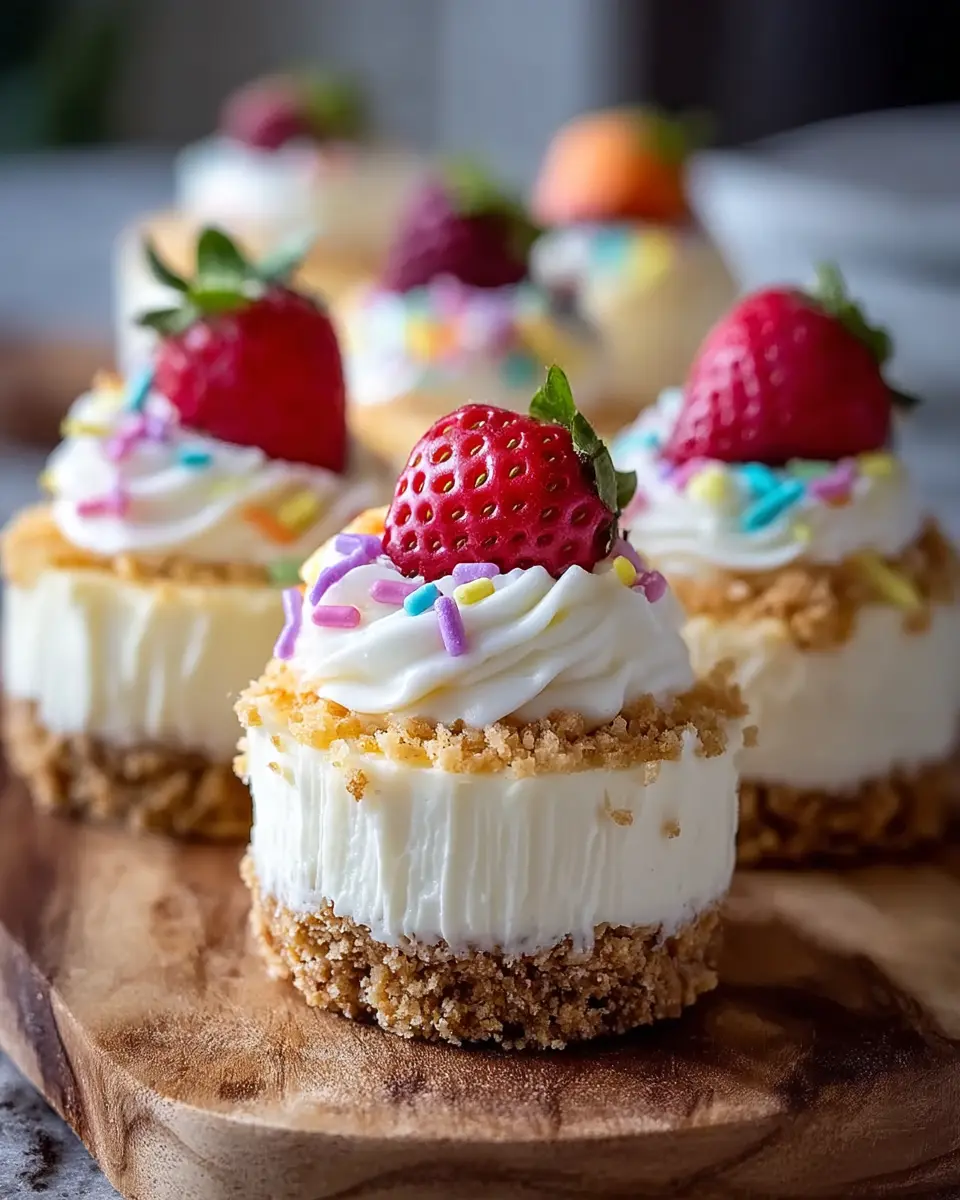
If you’re a busy young professional looking to indulge your sweet tooth without spending hours in the kitchen, no-bake mini cheesecakes are the perfect solution. These delightful treats are simple to whip up, requiring minimal time and effort—ideal for those evenings when you want dessert but don’t want to compromise on flavor.
Unlike traditional cheesecakes, which can be time-consuming and require baking finesse, these no-bake versions only need to chill in the refrigerator. This means you can prepare them ahead of time, leaving you free to relax or enjoy your favorite Netflix series while they set. Plus, you can get creative with toppings like sprinkles or candies for a fun twist that suits any occasion.
Consider this: according to the American Psychological Association, indulging in a treat can improve mood and increase overall happiness. So why not make your life easier and sweeter with these simple no-bake mini cheesecakes? They’re not only delicious but also the perfect dessert for gatherings with friends or cozy nights in.
Ready to dive into the recipe? Let’s get started!
Ingredients for No-Bake Mini Cheesecakes
Essential ingredients for a creamy cheesecake experience
Creating the perfect no-bake mini cheesecakes starts with a few essential ingredients that lend to their rich and creamy texture. The star of the show is definitely cream cheese—aim for 8 oz of full-fat cream cheese for the best results. You'll also need ½ cup of sugar to sweeten things up and 1 teaspoon of vanilla extract for that comforting flavor. Don't forget the 1 cup of heavy cream, which, when whipped, adds that luscious lightness every cheesecake craves. Lastly, gather some graham cracker crumbs to form a delectable crust that complements the cheesecake beautifully.
Optional ingredients for customization
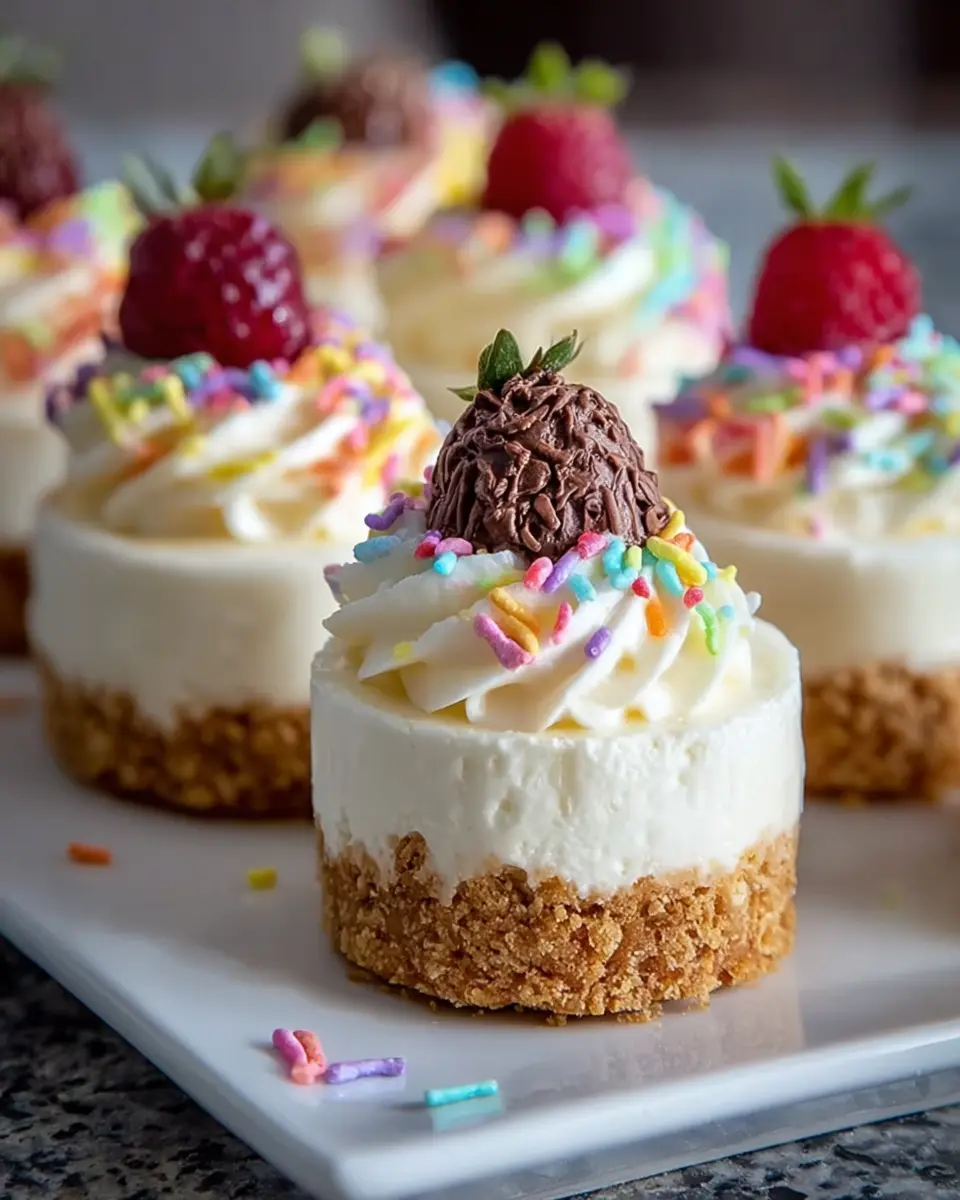
While the basic recipe provides a fantastic foundation, you can easily customize your no-bake mini cheesecakes to match your taste preferences. Want a fruity flair? Consider adding fresh berries or pureeing some fruit to swirl through the cheesecake mixture. Also, don’t hesitate to explore creative toppings—colorful sprinkles or your favorite festive candies can really enhance the presentation. If you're feeling adventurous, a hint of chocolate syrup or a drizzle of caramel might just take your mini cheesecakes to the next level!
For more delicious topping ideas and inspirations, check out resources like Food Network or AllRecipes.
Preparing No-Bake Mini Cheesecakes
Making no-bake mini cheesecakes is a delightful and straightforward process that can elevate any gathering. Let’s dive into the step-by-step instructions to create these delicious bites of heaven!
Gather and Prepare Your Ingredients
Before diving into the fun of cheesecake construction, it’s essential to gather all your ingredients. Here’s what you’ll need:
- 8 oz cream cheese (softened for easy mixing)
- ½ cup sugar
- 1 teaspoon vanilla extract (for that lovely flavor)
- 1 cup heavy cream (that’s your secret to whipped perfection)
- Graham cracker crumbs (for a classic crust)
- Colorful sprinkles or festive candies (because who doesn’t love a little pizzazz?)
Make sure to take your cream cheese out of the fridge about 30 minutes before you start; it makes mixing much easier and results in a smoother texture!
Make the Cheese Mixture
In a mixing bowl, beat the softened cream cheese with the sugar and vanilla extract until it’s ultra-smooth and creamy. This step is vital, as it creates the base flavor of your no-bake mini cheesecakes. Using an electric mixer typically speeds up the process. If you’re interested in diving deeper into cream cheese versatility, check out this resource on cream cheese basics.
Whip the Heavy Cream to Perfection
In a separate bowl, pour in your heavy cream and whip it until stiff peaks form. This is where the magic happens—fluffy whipped cream elevates your cheesecake filling to a whole new level! Don’t rush this step. Patience rewards you with that light, airy texture.
Combine the Mixtures Gently
Once you’ve whipped the cream to perfection, fold it into the cream cheese mixture gently. This is the secret to maintaining that desired fluffiness. Use a spatula and mix just until combined—over-mixing can deflate all that lovely air you incorporated!
Create the Graham Cracker Crusts
Now, let's focus on the crust. Take your graham cracker crumbs and divide them among mini cupcake liners placed in a muffin tin. Aim for about 1-2 tablespoons of crumbs per liner, pressing them down firmly to create a stable base. If you want a twist on this classic crust, consider adding a pinch of cinnamon or even using chocolate graham crackers.
Assemble the Mini Cheesecakes
With your crusts ready, it’s time to assemble! Spoon the cheesecake mixture on top of the graham cracker base until each liner is filled. Tap the muffin tin gently to settle the mixture and eliminate any air bubbles.
Chill and Let Set
This last step requires a bit of patience. Place your assembled mini cheesecakes in the refrigerator and let them chill for at least 240 minutes (or longer if you can resist the temptation!). Chilling is crucial for your cheesecakes to set properly, ensuring they have that perfect sliceable texture.
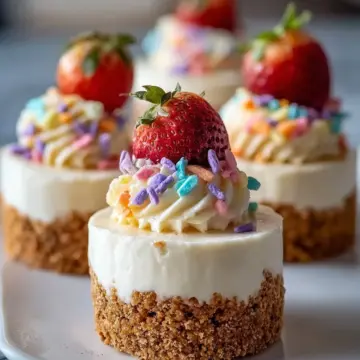
Feel free to top your beautiful creations with sprinkles or candies right before serving, adding a pop of color and fun! Now you’re ready to enjoy these no-bake mini cheesecakes; perfect for any occasion!
Variations on No-Bake Mini Cheesecakes
Fruit-topped Mini Cheesecakes
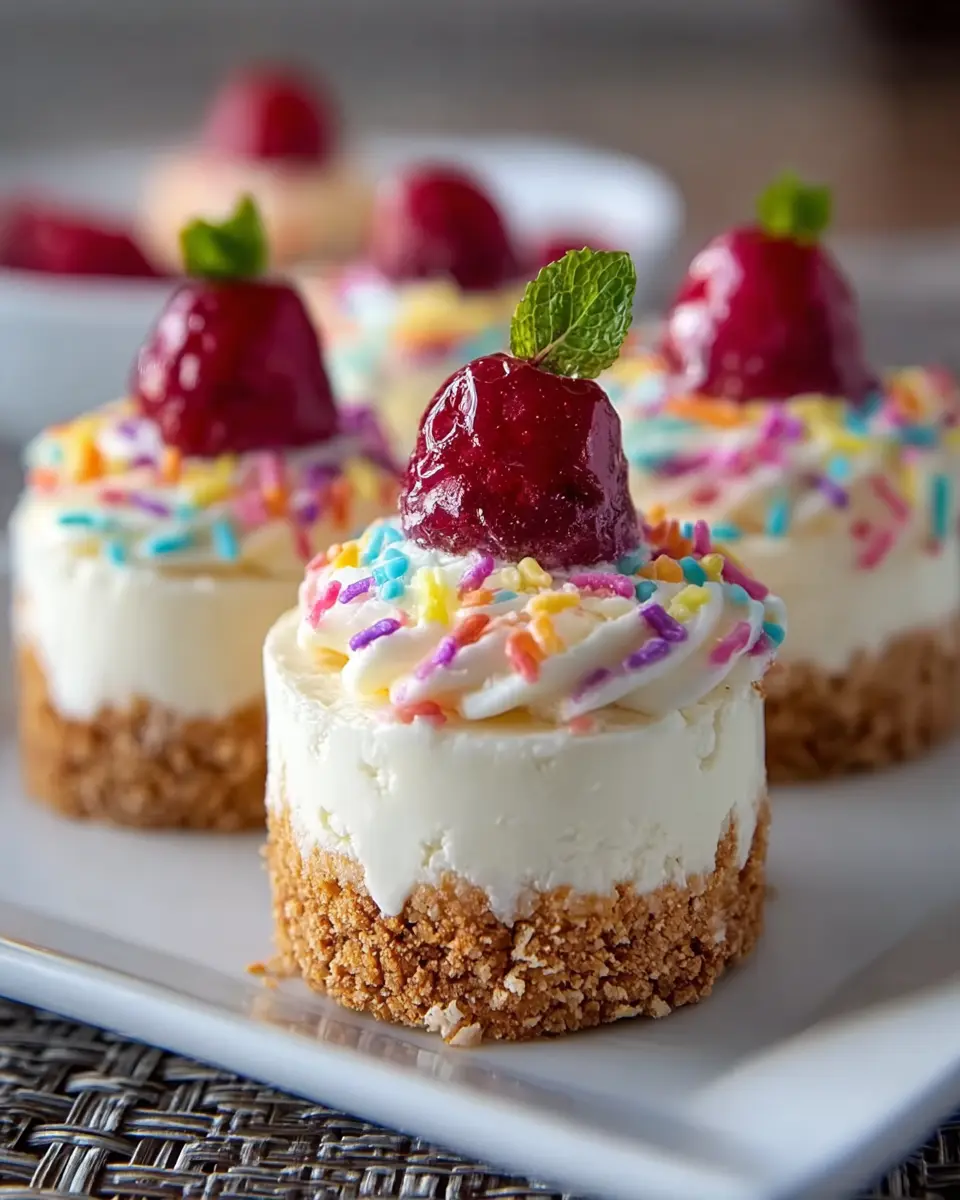
Elevate your no-bake mini cheesecakes with fresh fruit! Simply top each cheesecake with a variety of seasonal berries like strawberries, blueberries, or raspberries. For a tropical twist, consider using sliced kiwi or mango. The natural sweetness of the fruit not only enhances the flavor but also makes for a visually stunning treat that’s sure to impress your guests. Plus, it’s a great way to incorporate some healthy elements into your dessert!
Chocolate Marble Mini Cheesecakes
For all the chocolate lovers out there, try creating chocolate marble mini cheesecakes. Start by melting semi-sweet chocolate, then mix a bit into your cream cheese mixture. Swirl it in before chilling for an eye-catching marble effect. This rich variation balances the creamy texture with a decadent chocolate flavor that’s simply irresistible. Looking for a way to wow at your next gathering? These chocolate marbled delights will do the trick!
Try these variations and discover a new favorite! For more inspiration, check out this list of cheesecake flavors for endless ideas.
Cooking Tips for No-Bake Mini Cheesecakes
Best practices for a smooth texture
To achieve that perfectly creamy texture in your no-bake mini cheesecakes, start with room temperature cream cheese. Cold cream cheese can lead to lumps, ruining your silky cheesecake filling. Whipping the heavy cream to stiff peaks before folding into the cream cheese mixture is essential; it introduces air and lightness, creating a delightful contrast to the crust. For an even smoother finish, consider using a hand mixer instead of a whisk.
Chilling time: Why it matters
Never underestimate the importance of chilling time! Your no-bake mini cheesecakes need a solid 240 minutes in the refrigerator to set properly. This cooling period allows the flavors to meld beautifully and the filling to firm up, resulting in a cheesecake that holds its shape when served. Rushing this step might leave you with a soupy dessert—definitely not the outcome you want. So, be patient; it’s worth the wait!
Serving Suggestions for No-Bake Mini Cheesecakes
Creative Ways to Present Your Mini Cheesecakes
To elevate your no-bake mini cheesecakes, presentation is key! Consider serving them in clear glass jars for a modern touch; guests can admire the layers. Top with fresh fruits like berries or even a drizzle of caramel sauce for a pop of color. Use colorful cupcake liners to add a festive vibe for parties or gatherings. If you’re feeling whimsical, add edible flowers for a gourmet flair. For a fun twist, create a cheesecake "charcuterie" board with various toppings and dips!
Pairing Ideas with Drinks
When it comes to drinks, complement your no-bake mini cheesecakes with refreshing non-alcoholic options. Sparkling water with a splash of lemon or mint will cleanse your palate beautifully. Alternatively, a homemade fruit punch—think berries, citrus juices, and soda water—can enhance the sweetness of your treats without overpowering them. Herbal teas, like chamomile or hibiscus, also pair well, providing a calming contrast to the richness of your cheesecakes. What’s your favorite drink to pair with dessert? Experiment and find the perfect match!
Time Breakdown for No-Bake Mini Cheesecakes
Preparation Time
Getting started on your no-bake mini cheesecakes takes about 20 minutes. This includes gathering ingredients, mixing your cream cheese and whipped cream, and preparing the crust in your cupcake liners.
Chilling Time
Patience is key here! You'll need to chill your mini cheesecakes for a minimum of 240 minutes. This allows them to set properly and ensures that creamy texture we all love.
Total Time
In total, you’re looking at approximately 260 minutes from start to finish. Just enough time for a little self-care while you wait! Think of it as an opportunity to relax with a good book or catch up on your favorite show.
Feel free to explore more about the science behind setting times for cheesecakes here, where you'll find lovely insights!
Nutritional Facts for No-Bake Mini Cheesecakes
When indulging in these delightful no-bake mini cheesecakes, it’s helpful to know their nutritional profile. Each cheesecake contains approximately 250 calories.
Key Nutritional Elements
- Sugar: 10 g - A sweet treat that's still mindful of sugar intake.
- Fat: 20 g - Includes healthy fats contributing to a creamy texture.
- Protein: 3 g - A little protein boost in your dessert!
For more details on healthy dessert options, you might find Healthline and NutritionData informative. Enjoy these no-bake mini cheesecakes responsibly!
FAQs about No-Bake Mini Cheesecakes
Can I use low-fat cream cheese?
Absolutely! While using low-fat cream cheese is an option, it may slightly change the texture of your no-bake mini cheesecakes. Full-fat varieties typically yield a creamier consistency, but if you prefer a lighter option, feel free to experiment.
How long do these cheesecakes last in the fridge?
Once you've prepared your no-bake mini cheesecakes, they can last in the fridge for about 4-5 days. Just be sure to cover them properly with plastic wrap or an airtight container to keep them fresh and delicious. This guide on food storage can help you navigate proper storage techniques.
Can I freeze no-bake mini cheesecakes?
Yes, you can freeze your mini cheesecakes! They can last up to 2-3 months in the freezer. To do this, ensure they are properly wrapped to prevent freezer burn. When you’re ready to enjoy them, let them thaw in the refrigerator overnight. This not only maintains their flavor but also ensures a delightful texture upon serving.
These tips will keep your cheesecakes divine, whether enjoyed right away or saved for later!
Conclusion on No-Bake Mini Cheesecakes
Creating no-bake mini cheesecakes at home brings a unique joy, combining creativity and deliciousness in every bite. Don’t hesitate to experiment with flavors and toppings; this is your canvas! Sharing these delightful treats enhances any celebration, making memorable moments with friends and family sweeter. Enjoy!
No-Bake Mini Cheesecakes
Equipment
- Mixer
- Mini cupcake liners
Ingredients
Cheesecake Filling
- 8 oz cream cheese softened
- ½ cup sugar
- 1 teaspoon vanilla extract
- 1 cup heavy cream
Crust and Toppings
- Graham cracker crumbs for the crust
- Colorful sprinkles or festive candies for topping
Instructions
Preparation
- Beat the cream cheese with sugar and vanilla extract until smooth and creamy.
- Whip the heavy cream until stiff peaks form.
- Combine the whipped cream into the cream cheese mixture gently.
- Prep the crust with a layer of graham cracker crumbs in mini cupcake liners.
- Spoon the cream cheese mixture on top of the crumbs.
- Chill in the refrigerator for at least 240 minutes or until set.
- Top with sprinkles or candies before serving.
Leave a Reply